The Dragalia Lost Void Battle event isn’t a facility or single raid battle, but a proper introduction to the Void Battle system added in February 2019. More boss battles have been added, and they’re available in far longer time windows. But knowing which Void Battle to take on first is a difficult thing to gather from the game itself. To help, we’ve put together this Void Battle guide to detail the steps you’ll want to take to maximize your chances against these progressively more difficult encounters.
Note: this guide was last updated on July 23, 2019.
Table of Contents
- Boss schedule
- Weapon crafting order
- Tier 1 boss guides (easy)
- Tier 2 boss guides (Intermediate)
- Tier 3 boss guides (Hard)
Void Battle Schedule
We used to have a nice graphic here, but it’s constantly being made out of date. Instead, you’re better off checking the schedule in-game through the Void Battle menu. Void Battles are available all day every day, but which area available depend on the day.
Void Weapon Craft Order
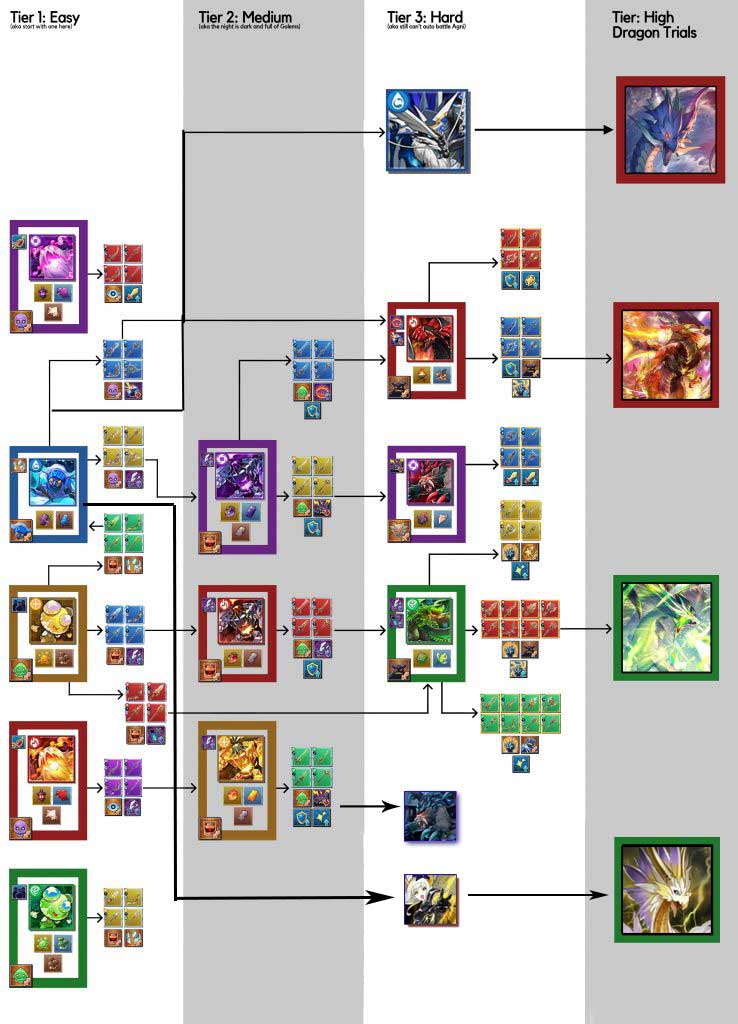
Before we jump into the guides, let’s take a look at how each Void Battle boss sets you up for the next. There’s no easy to figure this out without switching between endless tabs in-game, but plenty of Reddit users like Peterjay12 have consolidated the information into handy infographics like the one shown above. We’ve updated it with newer branches. You might want to open it in another tab.
Simply put, you want to start with a Tier 1 battle and use the materials to craft weapons capable of taking on bosses further up the tree. Eventually, you’ll end up crafting weapons that should make chipping away at High Dragon health pools a little easier.
Void Battle Guide – Tier 1 (Easy)
Wandering Shroom
The Wandering Shroom starts with a series of close-range AOEs before moving into a triple Dash combo targetted at random allies. You’ll want to be quick about dodging the dash strikes. If you’re aiming a force strike yourself, it’s best to wait until the end of a single dash to nail the placement.
The main gimmick to this fight is how the Wandering Shroom will “Disperse" shortly after going into Overdrive, cutting its health to summon 4-5 Dark-attuned shrooms and shrink down to match their slightly smaller size. These shrooms have basically the same moveset, so you’ll want to dispatch them before things get a little too hectic. This will happen a total of two times – one after each break – until the shroom is either tiny or just dead. Ranged attackers will generally have more uptime in this fight.
Gust Shroom
Another Tier 1 reskin, Gust Shroom has finally picked an element not dominated by Axe users capable of shredding its clones like paper. Just about any 4* Fire character will do their job here with a decent STR dragon like Ifrit on hand. Just knock it into Break with Flame’s many Sword users and use your dragon to beat it up.
Dragon Prep might be needed to do this on the first Break, but the second will be easy pickings. The only attack to watch for here are the annoying wide and frequently full-map rolls. Unlike the last shroom, there’s a melee attack before the third roll.
Frost Hermit
Similar to the Wandering Shroom, Frost Hermit will periodically split into additional clones. You’ll need to craft a set of Copy Punisher weapons from the Wandering Shroom take these down properly, with Roc’s AOE deleting them.
Poison, Stun, Blind, and Sleep are all effective ailments to bring along, so rummage through your Adventurers to find someone suitable. Resistance to Bog and Freeze are also massively beneficial, as getting caught by one will make getting combo-ed far easier.
Blazing Ghost
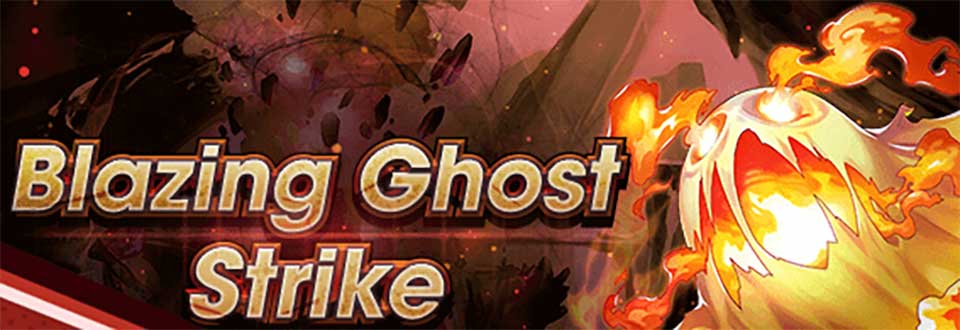
There’s more than meets the eye with this ghoul. It has tricks up its sleeve, and its Ranged Resistance rendered most Water Ranged characters completely unusable outside of status afflictions. STR Down brought on by its attacks won’t help your case, but they’re not too difficult to avoid as they all follow fairly strict patterns.
The only one to really watch for is Haunting Flames. It’s just like Incandescent Towers, only it starts from the outside and doesn’t telegraph the second and third strikes.
Your answer here really is to just rely on melee characters. Lances will allow you to carry on the offensive during the lengthy Cremation cast. Paralysis and Freeze ailments will make life easier. Just aim to break as usual, and you’ll make a hot mess of this boss without too much trouble.
Violet Ghost
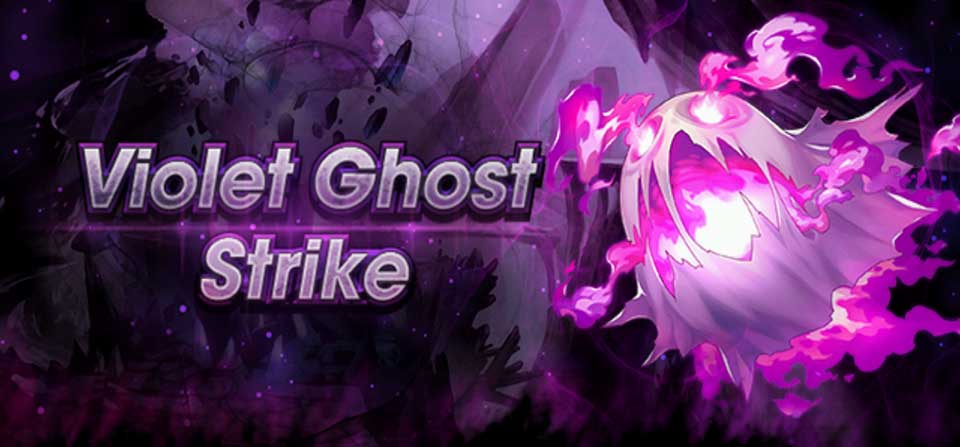
Now attuned to Shadow, you’ll need to bring your best (or worst!) Light adventurers to knock it down. Still packing STR Down on most hits, high SP characters can typically iframe the bigger threats and stay on the offensive.
As you’d expect, Paralysis and Stun are both massive helps here, making characters like Albert and Annelie valuable assets. The recent barrage of Light characters should make this an easy fight for most.
Void Battle Guide – Tier 2 (Medium)
Steel Golem
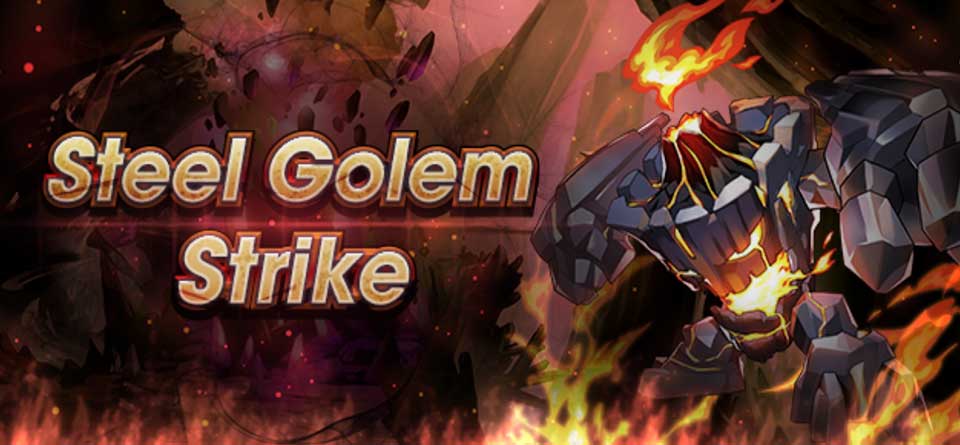
So what can you do against this hunk of mettle? Resist his Dull (through weapons or dodging) and heal through any Burn he manages to throw at you. While he won’t take much damage in Overdrive stat, he becomes much softer during Break.
Newcomers will want to have Dull Resist weapons on hand to beat up this hit sponge, whereas experienced players can forgo these for better equipment after memorizing the golem’s attack rotation. He has a lot of hard-hitting attacks and pulls them out quite quickly. Just stay vigilant, aim for Break, and inflict Freeze as much as possible for an easier time.
Obsidian Golem
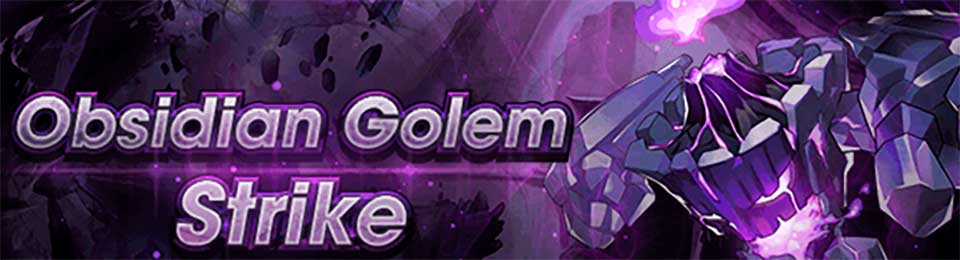
More or less a carbon copy of the Steel Golem, the Obsidian Golem just switches ailment resistances around and offers little else. Rather than freezing or applying bog to keep it in check, stun and paralysis will help make this fight much more bearable.
Again, weapons can negate the Dull it inflicts with each hit, but experienced players can simply dodge every attack with rolls and skill iframes. Annelie, Albert, Fleur, and even Rawn can be very helpful here thanks to Stun and Paralysis.
Amber Golem
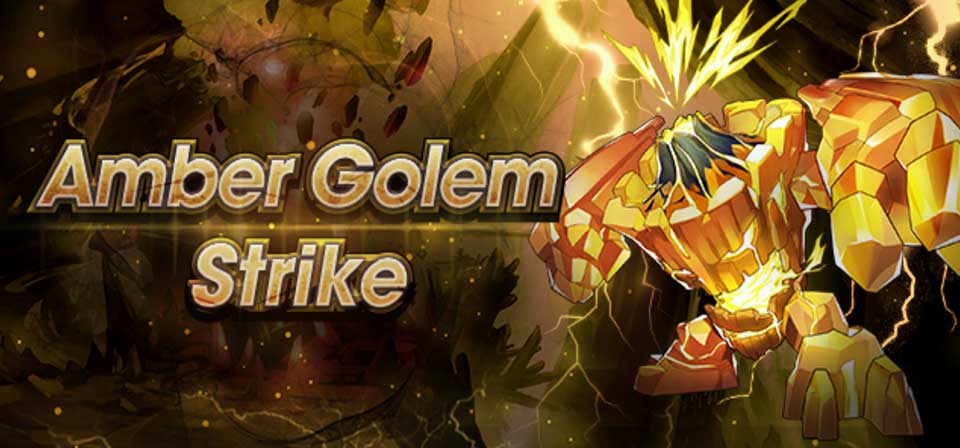
Just like the other two golems to come before it, Amber Golem is here to inflict Dull with every attack. Equip your Shadow adventurers with Dull Resist weapons to negate the effect, or learn to avoid taking damage at all – like by learning the attack rotation or controlling a high SP gain character to iframe with skills.
Unlike the other golems, however, Shadow adventurers lack any Dull Resist Axes or Swords, making the usual aim of a quick Break a little trickier for the inexperienced. If you plan to use the appropriate weapons, you’ll need to rely on Bow, Blade, Wand, and Lance users – thankfully, that means Ieyasu – the king of Bleed – is ready to rock.
Bring a healer like Cleo or Heinwald (with your strongest Staff) and just chip away at the enemy. It takes insane damage in Break state and shouldn’t last too long with characters like Kleimann or Nefaria on your side. Veronica, Sazanka, and Ieyasu will make it trivial.
Void Battle Guide – Tier 3 (Hard)
Void Zephyr
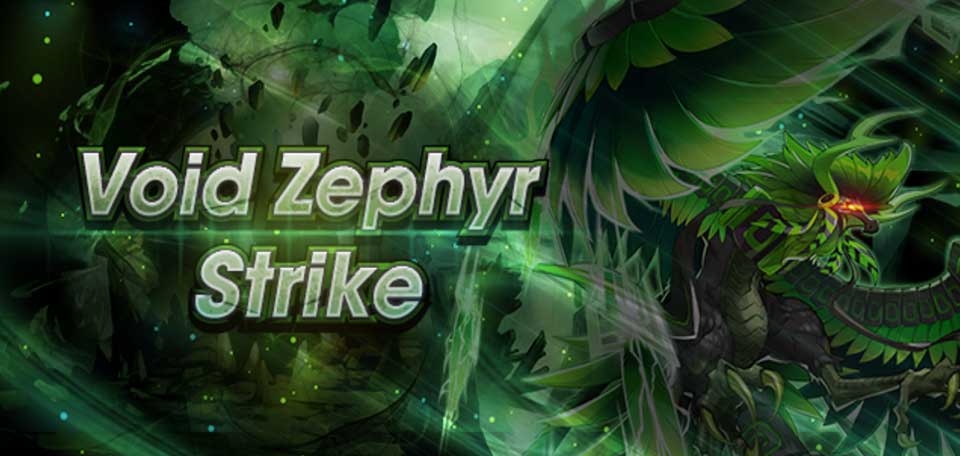
Void Zephyr is known to inflict a number of debilitating ailments like Dull, Sleep, and even Dragon Delay. Bringing a competent Fire team should be high on your agenda, but those lacking native Sleep Resist (like Mikoto) will need wyrmprints to stave it off.
Dull Resist is practically mandatory here, so prepare for a long fight. Attack-wise, Void Zephyr will summon tornados targetted at ranged attacks, and follow up its melee talon kicks with forward-firing gusts of wind that you’ll want to avoid. There isn’t too much to deal with here, but getting caught on the wrong end of a gale can quickly knock you out of the fight. You can usually cancel out its more dangerous attacks with Break.
Raging Manticore
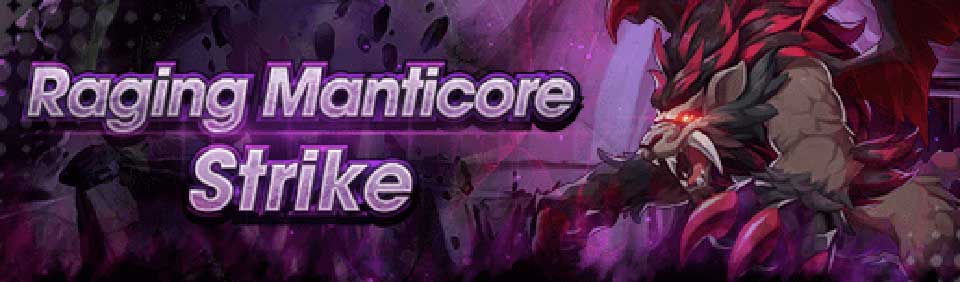
The gimmick here is that the Raging Manticore enters Fury the moment you knock it into Overdrive, granting it a few extra moves and removing the red/purple telegraphs for each. He becomes better, faster, and stronger, and can never be put into Break state without the right Void weapon. Interrupts like Stun, Paralysis, and Sleep can cancel out its powerful abilities.
The meteors you’ll experience at the start of the fight will be the bane of ranged AI going forward, so be prepared for pain. This beast has an attack for every situation, meaning no adventurer is truly safe in a spot for long.
Once knocked into Overdrive state, Manticore will start to weave all of these abilities together and introduce a very powerful front and back conal earthquake. The sides are safe during this move, but you’ll want to roll to reliably avoid the funnel effect caused by its placement.
Just attack to build up your skills and watch for the visual tells to know when to execute skills for iframes.
Greedy Manticore
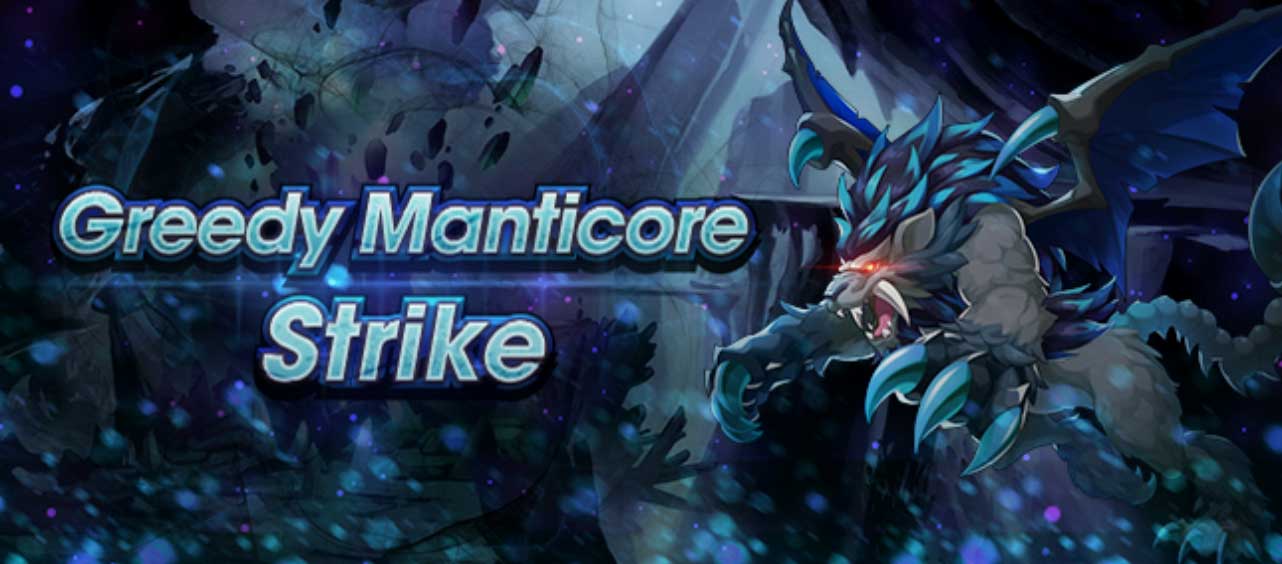
One of my personal favorite void battle bosses finally gets another lease of life. Greedy Manticore is a Water-attuned version of the previous Shadow-attuned Manticore. It keeps many of the same moves, but shakes up the order a tad. You won’t have to avoid meteors right at the start (it’s swapped for Divebomb), but you will have to dodge the occasional whirlwind flying out of its face.
As with Raging Manticore, the real aim here is to break through its semi-permanent Fury overdrive state with the right weapon. You can kill either Manticore without it, but Fury Penetrator really speeds things along.
You won’t have a whole lot of options here, but Sword, Blade, Dagger, and Wand users all have access to Wind weapons with the Fury Penetrator skill made from farming the Golem void battles. Gala Ranzal, Wedding Aoi, Musashi, Melody, Ku Hai, Addis, Wedding Elisanne, and Maribelle will work just fine here. Freeze res also helps.
Void Poseidon

One of the premier Void Battles around, Void Poseidon is your gateway to High Mercury. You’ll need to decide which of its two effects to negate through your choice of weapons here. You can either negate the pull-in from the whirlpool aura surrounding it, or the Skill Resist threatening to reduce outgoing DPS by a metric ton. Adventurers like Lin You, Addis, Maribelle, and Slyas are good picks here, with Melody and Aeleen stepping in at lower tiers. Lowen is your key healer.
Given you can still roll out of the whirlpool given enough time, craft those Skill Resist weapons and go to town on this bad boy. Just dodge its telegraphed attacks and attack from one of the many outside bubbles it spawns to completely avoid its main move (just don’t try to share a bubble). It’s more a long fight than a hard fight. Poseidon is just trying to scare you.
Void Agni
Probably the longest Void Battle you’ll come across, Void Agni is very similar to Poseidon – only its aura will quickly kill you without the right weapon. In this, there’s no option to ignore its aura – a melee adventurer like Xander or Xienfried absolutely requires the right weapon. Ranged characters will want to opt for Skill Resist weapons for the added DPS but will need to stay very wary of Agni’s location lest it reposition and quickly kill them.
Agni is a slog in that you’ll be mostly dependant on regular attacks to whittle it down while plenty of targetted attacks will force the team to spread out from time to time. Occasionally, Agni will hurl three flaming swords toward the furthest target, so get your healer to stand back and time their dodges to minimize the threat.
Other than that, pick a corner for the spread AOEs and reposition to avoid lava pools. When rocks begin to fall, use one to break line of sight with Agni to avoid its main killer.
Void Jeanne d’Arc
While a bit of a pushover due to an abundance of counter weapons and the sheer stopping power of Shadow’s many Bleed characters, Jeanne d’Arc has a unique attack pattern that can incapacitate you before you know it. Her attacks don’t knock you back, so you might not even notice any damage you take until it’s too late.
Blind resistance would be beneficial, but her attacks aren’t hard to dodge. Characters that can inflict Blind (like Norwin and Nefaria) can have fun here.
Void Jeanne d’Arc employs the “Divine Protection" buff upon hitting Overdrive state. This vastly increases her Defense and can’t be chipped away by regular weapons, ensuring she stays in this almost invincible state. To combat this, have a couple characters bring weapons forged from the Frost Hermit so that you can break her quickly and burn her down. She also has Dragon Delay, but by dodging her attacks, you’ll ignore this particular effect.
Speaking of attacks, the only major thing to watch out for here is the electrified lines between the banners she places in each corner of the arena during Overdrive. As the electricity surges between them, one will always cross the middle of the arena. Dodge that and there isn’t much outside of small arena attacks and a melee cleave to watch out for, honestly. Ranged attackers will have the occasional purple AoE to dodge on the outer ring, but that’s about it.