 If you read my review, you know I had mixed feelings about Batman: Arkham Origins (Free), the latest from NetherRealm and Warner Bros. While I enjoyed the gameplay, I felt the monetization aspects ended up killing the game, particularly the poorly-implemented stamina meter. That said, it’s a free game, and it’s Batman, so I know a lot of you are playing it anyway. With that in mind, I thought I’d put together a little guide to help you make your way through the game without whipping out your Bat-Credit Card. Unless, that is, you want the Batman Beyond suit, in which case, I hope you have $50 to spare.
Waynetech And You
The good news is that if you’re not a completionist, you can probably work your way through a large chunk of the game in one sitting by using your Waynetech premium currency to feed your stamina bar. The game will give you some when you start, and will give you more when you beat a boss for the first time or clear an Ambush mission. It trickles out just a bit too slow to carry you through the game, even if you cut the unnecessary stuff, but it will take you pretty far if you’re not shy about using it.
The bad news is that if you spend your Waynetech points on refilling your stamina bar, you’ll never unlock the Liberty Files Batsuit, which clocks in at 60 Waynetech points. You’ll also never get the Batman Beyond suit, but at 460 Waynetech points, you were never getting it through normal play anyway. If you’re just looking to get to the end of the game, though, those suits don’t matter. The suits you can buy with the easy-to-earn upgrade points currency are better in most ways, even if they don’t always look as cool.
Generally, you’ll want to be using your Waynetech only to refill your stamina bar. There are certain situations where you might want to use it for an in-fight revival, but a full stamina bar works out to at least two more chances at the battle, so it’s usually the better value for your points. Only use your Waynetech for a revival if you think there’s little chance of you resolving the battle with a single lifebar. It should be a very rare case if you’re following this guide.
Uptown Gotham, Tier 1
The first thing you’ll want to do, after finishing the tutorial, is to log in to your WB ID. If you don’t have one, make one. This will unlock the suit you’re going to be using for this portion of the game, Red Son Batman. This will give you a fair bit more health and power than the suit you start off with, and will give you some defensive bonuses versus stun and electrical attacks, to boot.
For the time being, you’re going to want to stick to the regular missions, marked with a Bat-signal. You can use the challenges to grind cash or experience in a pinch, but it will suck away your valuble stamina, so you need to try to stay on the main road as much as possible. The main missions should only cost two stamina points at this point of the game, and your winnings should be in the thousands for finishing them. Since you don’t need another suit until you finish the boss of this area, all of this money can go into upgrades.
Your upgrade options are going to be pretty slim in the beginning, until you level up and unlock some things. You’ll want to invest in upgrading your Fisticuffs skill to increase your basic damage output, which is very useful in the beginning when you don’t have many special attacks. You should also upgrade your Assault Stance, Health Booster, and Guarded Stance, in that order. You’re likely going to be spending most of your time in battle in the Assault Stance, and boosting it makes you hit harder and take hits a little better. The Health Booster is your best friend, and upgrading it not only increases the amount of life it restores, but more valuably reduces its cooldown timer, letting you use it again sooner. Certain fights will require you to spend more time in Guarded Stance, so you don’t to let it fall too far behind, either.
Don’t worry about upgrading your Justice Kick. In the long run, its most beneficial ability is increasing your damage output, and it doesn’t need to be powered up to do that. The same goes for Steadfast Strike, which gives you a defense bonus if you land it. If you have some spare points after upgrading the important stuff, you can sink some into Pinpoint Strike, to give your criticals a little more whammy. If, in the course of clearing this area of Gotham, you unlock the Tailor Made and Bat Swarm abilities, start upgrading them as well.
Your fighting abilities are limited at this point of the game, so you’re going to be fighting a little differently in this part of the game compared with the rest. Most of your damage is going to come from basic strikes, done by tapping on the screen. Always commit to two strikes of the combo until you see how the enemy reacts. If the first hit lands, then keep going, and make sure you swipe for any extra follow-up attacks. If the first hit is blocked, then it’s time for you to cut the combo and block, because there’s likely an enemy rage attack coming up. Generally speaking, any time you’ve landed some hits if the enemy isn’t stunned or defeated, you should block. Surviving in this game is largely a matter of outlasting your enemy with every trick in your book, and eating the full brunt of a rage attack is going to put a pinch in that plan awfully fast.
Throw out Justice Kicks and Steadfast Strikes whenever their timers are up to receive the stat benefits they confer. You actually have to land them to get the bonus, so try to catch the enemy off-guard, either as they jump into the fight or after they’ve finished a combo. The bonuses stack, and the more, the merrier. If the timer on your Health Booster is up and you are missing some life, use it right away so that you can get that timer back to work again.
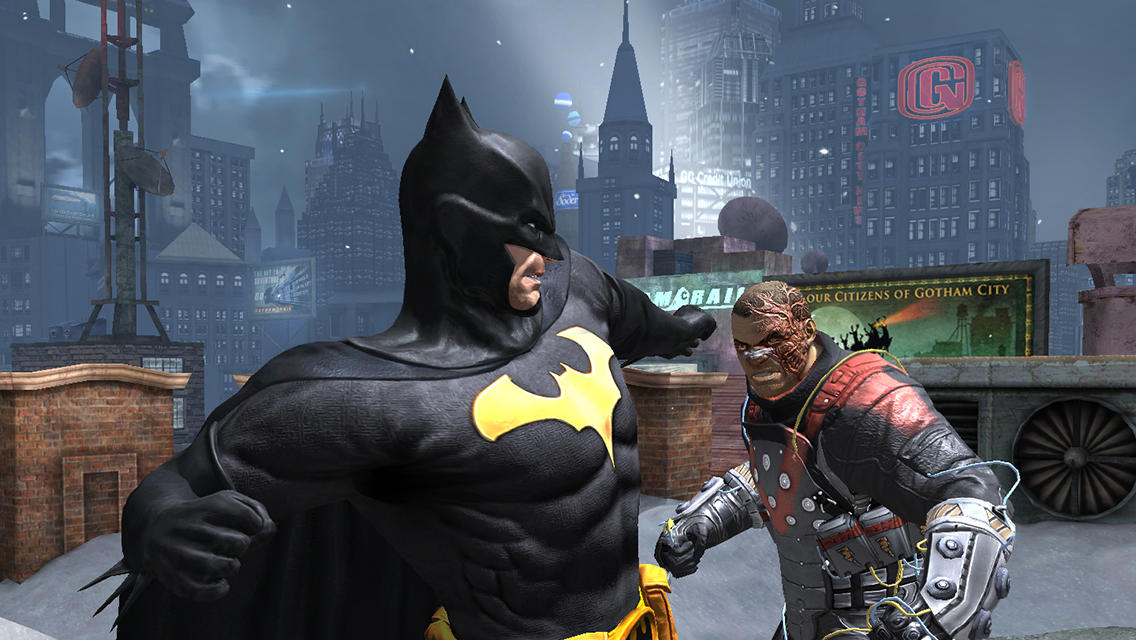
The boss of this area is Deadshot. His special ability is to fire a volley of shots at you. You’ll have to tap two, then three, and finally four circles around the bullets in a short time to avoid the attack. The nice thing about the bosses’ special attacks is that while the animation plays out, your special attack timers keep ticking down. It’s often to your advantage if a boss decides to use their attacks a lot as a result. Just keep steady, blocking, countering with basic strikes, stat-boosting with your specials, and healing. If you’ve unlocked Bat Swarm, fire that off before launching another special attack, and he won’t be able to block it. Deadshot isn’t too tough, so you should be on your way to the Gotham Docks in no time.
Gotham Docks, Tier 2
Your suit for this tier is going to be the Earth Two suit, which will give you a little speed boost and major gains in health and power. It also reduces ballistic damage by 25%, and boy, is that going to be useful here, because the goons start packing some serious heat from here on out. It’s just 10,000 upgrade points more than the weaker Arkham Mk II suit, which isn’t a lot of money at this point of the game. If you don’t have enough for this suit, you might want to go back Uptown and grind out a few challenges, because you probably aren’t going to be strong enough to handle the fights here until you get it.
As before, stick to the main missions as much as possible. Keep upgrading your stances, Health Booster, and Fisticuffs. You should certainly have the Bat Swarm and Tailor Made skills unlocked by now. Tailor Made increases the health and damage modifiers of your suits, and its effects apply to every suit you own. Bat Swarm does some damage over time, is unblockable, and leaves the enemy open for your next attack. This is going to be one of your best friends, and upgrading it decreases the cooldown timer, so you know what to do.
You’ll also probably unlock Strong Chin and Advantageous Strike. Don’t bother wasting too many upgrade points on these skills until there’s pretty much nothing else left. Strong Chin decreases your chances of being stunned, but if you’re blocking like you should, that shouldn’t ever come up. Advantageous Strike causes you to do extra damage to stunned opponents, which is nice, but you can only stun opponents using certain skills, so it doesn’t really help much, especially at this point of the game.
In the course of this chapter, you’ll likely unlock the special attacks Martial Law and Crippling Batarang. Martial Law is pretty much the perfect follow-up to a Bat Swarm if you’re looking to do some heavy damage. It’s worth upgrading a bit, but it should be pretty low priority. It’s nice to follow a Bat Swarm with it, but if it’s not ready, it’s not like following up a Swarm with another attack isn’t also useful. Crippling Batarang strips the opponent of their ability to do a rage attack for a short amount of time if you successfully land it. It’s useful against gunmen, who can do pretty hefty damage to you with their rage attacks even if you block, but like Justice Kick and Steadfast Strike, you can enjoy the effects of it without needing to upgrade it.
Now that you have more of an assortment of special attacks, the flow of the battle is going to change a bit. Most of the basic goons will go down pretty fast to your basic strikes, but you’ll be facing tougher enemies with deadly attacks from here on out, so you’ll be wanting to play more of a reactionary game in fights. Block, fire off a special attack, repeat. If you have a good chance to land a basic combo, go for it, but don’t feel obligated. Your special attacks are going to be doing the bulk of your damage from now on, and they won’t come up any faster by landing basic strikes, so sometimes it’s best to just turtle up against the tough opponents.
The boss of the Docks is Copperhead. She has two special attacks. In one of them, she’ll climb up on your shoulders and prepare to pierce into your shoulder, which you can deflect by tapping two circles that come up. She’ll then go into a submission hold which you have to break by swiping in the direction of the arrow. The direction will change periodically, so pay attention, because if you don’t break the hold fast, you’ll end up taking a hefty chunk of damage. In her second special attack, she simply goes straight into the submission hold, which is broken in a similar manner to before. Block her rages, retaliate with Bat Swarm, and go Martial Law on her. Don’t forget to heal at every available opportunity. With a new pair of snakeskin shoes, you’ll be all ready to head to Downtown Gotham.
Downtown Gotham, Tier 3
I hope you’ve been saving up some upgrade points, because the next suit you’ll want is the most expensive one in this tier: the New 52 suit. The Arkham Mk III suit is a waste of money, and while the Thrillkiller is cheaper and adds a bit more strength and health than the New 52 suit, its passive ability pales in comparison. Thrillkiller reduces damage from critical strikes and bleeding. Criticals can certainly ruin your day if they happen at the wrong time, but they’re rare enough that you don’t want to plan your purchases around them. Bleeding shouldn’t be an issue if you’re blocking like a good little Batman. The New 52 suit, on the other hand, offers 20% protection from basic attacks, which is what the majority of enemy attacks are. It also offers fire protection, which is useless if you’re blocking, and is quite a bit faster. As before, if you don’t have the necessary amount for the suit, go back to the Docks and grind out some challenges and you’ll be there in no time.
In the course of this chapter, you should unlock the last set of skills. Two of these are awesome and very useful, and the other one at least looks awesome and is another attack to fire off in your rotation. First up, Master Combatant. With this passive skill, whenever you use a special attack, there’s a small chance it will instantly be available again, with no cooldown. You can and will pump this up to a 20% chance. I don’t need to tell you why this is useful, I hope. Next, The Dark Knight. If you land this special attack, not only will you damage and potentially stun the enemy, but the cooldown timers on your Health Booster and Bat Swarm will be instantly reset, making them instantly available to use. Upgrading this will up its damage and decrease its cooldown timer.
Finally, there are the Shock Gauntlets, which switches the camera to a first person view and lets you do a little left-right punch action. If you land enough hits, this gives a damage bonus to your next attack, which is nice, but like other buffs, you don’t need to upgrade it to enjoy this benefit. It’s best used after a Bat Swarm if your Martial Law attack isn’t ready to go. It’s relatively low priority as far as upgrades go, though, and you’re going to need to save some points for the next suit, I can promise you.
At this point, you’re almost certainly out of extra Waynetech points, so all you can really do is stay on track with the main missions and suffer the stamina gauge, taking advantage of ambushes to give you a little extra Waynetech now and then. You’ll be facing more and more dangerous goons, and occasionally some bosses in regular fights, so it’s more important than ever to play a reactionary game with the opponents. With Master Combatant and Dark Knight, Health Booster should be popping up more than enough to keep you in the pink in most fights. You’re probably well on your way to the level cap of 30 as well.
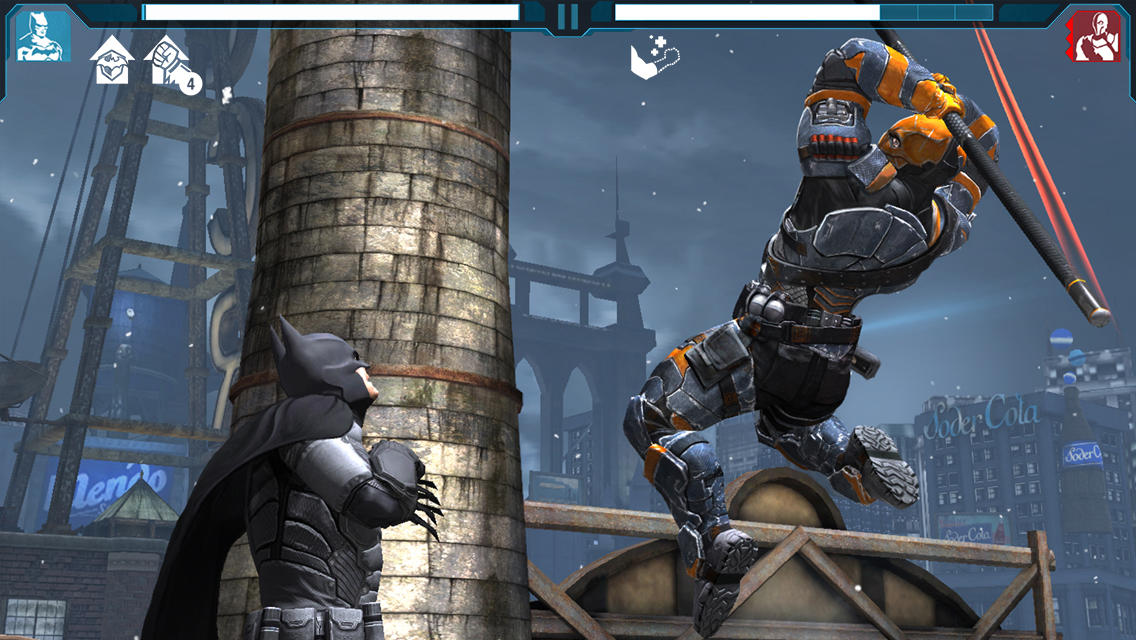
The boss of the Downtown is good old Deathstroke, who deserves some kind of prize for accidentally inspiring a far more popular character over at the competition. He has two special attacks, one of which has you tapping on circles, with the other involving a swiping tug of war like Copperhead’s grapples. Deathstroke seems to be a bit more likely to ruin your day with his special attacks, so don’t goof around when you’re trying to break them. The running timers during his specials along with your new abilities means you should be able to take him down without much trouble unless you mess up on your defense. Toss him in the deadpool and head on over to the Industrial District.
The Industrial District, Tier 4
Once again, good news and bad news. The bad news is that the final tier of suits is obscenely expensive. The best suit here is probably The Blackest Night suit, which gives you an obscene health boost and will resurrect you once per battle. It’s only available by connecting with the console version via WB ID and performing a very time-consuming task, but if you happen to have it, or have a buddy that’s willing to share, you can probably stop reading here, because the rest of the game will be a picnic. The Batman Beyond suit is also in this tier, but as mentioned before, it’s essentially unreachable without spending more money or time than anyone with sense. This leaves you with a choice between three suits: Arkham Mk IV, Dark Knight, and Injustice.
The Arkham Mk IV suit is the worst choice, naturally. It’s 200,000 points cheaper than the Dark Knight suit, but the cost of those savings is about 2000 less damage and no passive abilities. If you’re already spending 665,000 upgrade points, you might as well save a little more and get something worth your while. So it’s down to the Dark Knight suit or the Injustice suit. The Dark Knight suit has quite a bit less health than the Injustice suit, but it deals a little more damage and its passive ability reduces damage by 15% across the board. The Injustice suit offers substantial bonuses to critical hits and stun attacks and costs 100,000 more points than the Dark Knight suit. I give the edge to the Dark Knight suit, but you can’t go wrong either way here if you’ve got the scratch.
If you don’t have the scratch, the good news is that so long as you’ve been upgrading intelligently, the New 52 suit is quite capable of handling this last section of the game. I know it feels gauche to wear the last level’s threads again, but sometimes we have to suffer in order to defeat evil. You’ll have to play very carefully, but it’s more than doable, at least with regards to the main missions. The side challenges might throw some conditions in that you’ll be hard-pressed to handle without new threads, but we’re not going to worry too much about those.
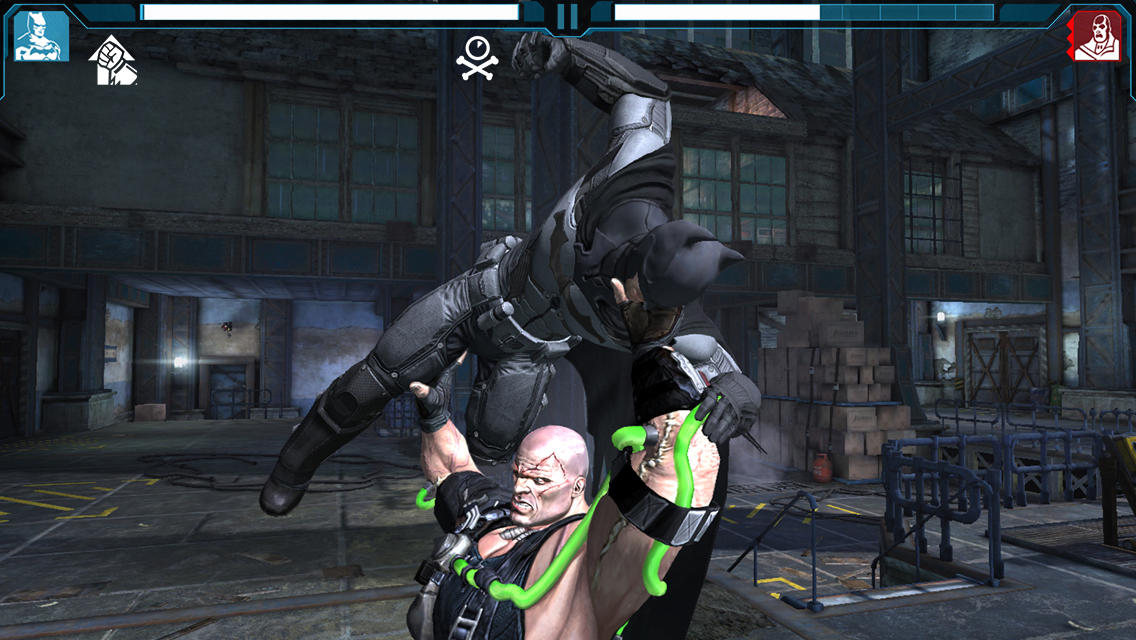
Hopefully you’ve topped off all the important skills and special attacks by now and are either saving up for an ubersuit or are filling out the less useful skills. Your boss here is none other than Bane, and although he’s a big boy, he’s actually not that hard to take down. His special attacks both require you to tap like a madman to escape. With one of them, the tapping area will stay in the same place, so you just have to jam as fast as you can. With the other, the tapping area will periodically move around, so you’ll have to pay attention and follow it or else you are going to suffer heavy damage. The real trick with Bane in this fight is that he has the other three assassins with him. Just play it very safe, stick to your tried and true tactics, and you should be fine even without a suit from the final tier.
Congrats, you’ve won. No party, credits, or fanfare, but don’t you feel all warm and squishy inside? Now, if you are a completionist, feel free to go back at your leisure and buy the suits you missed. Let me know if you get the Beyond suit sometime before someone invents shway flying cars without harassing your Facebook friends. As for me, I’m just going to pop in my Batman Beyond DVDs and tap on my TV screen a lot while I wait for some new content for this game.